Create XML Node Action
The Create XML Node action allows you to insert an extra node into an existing XML file.
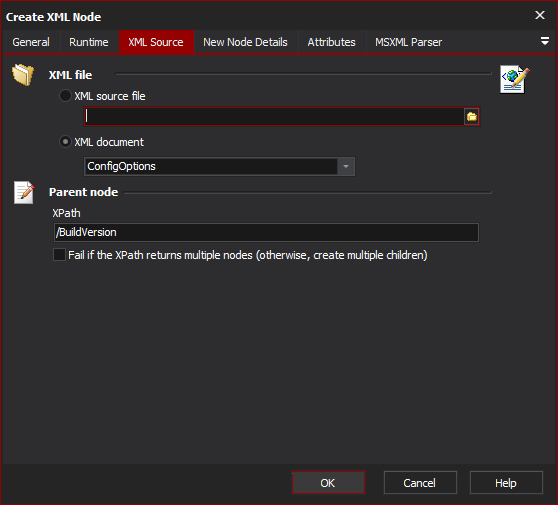
XML Source

XML File
Specify an XML file or document to modify.
Parent Node
Enter the XPath to the parent node under which to create the new node.
Check the "Fail if the XPath returns multiple nodes" option if you only want to create one node. Otherwise, if the XPath returns multiple nodes than an identical child node will be created under each parent.
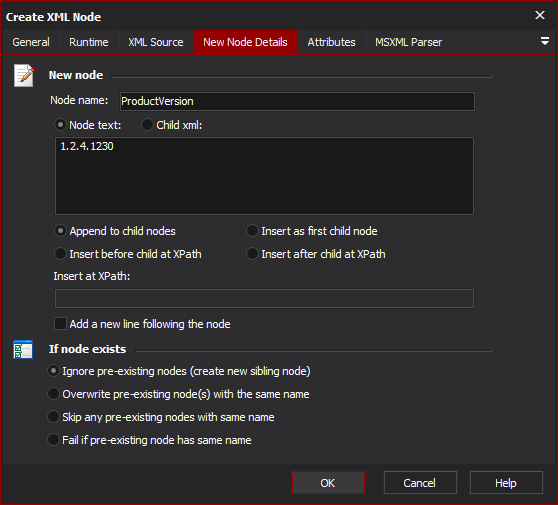
New Node Details

Node Name
The name of the new node.
Node Text
The text content of the new node. Leave blank if you do not wish to add any text content.
Append to child nodes
Choose "Append to child nodes" to have the new node created last - after any sibling nodes.
Insert as first child node
Choose "Insert as first child node" to have the new node created before any siblings.
Insert Before Child At XPath
Specify the the Xpath of a sibling node to insert this node directly before.
Insert After Child At XPath
Specify the the Xpath of a sibling node to insert this node directly after.
If Node Exists
Ignore pre-existing nodes
The new node will be created regardless of whether other nodes with the same name exist.
Overwrite pre-existing node(s) with the same name
The action will delete any child nodes it finds with the same name as the new node. If multiple child nodes with the same name exist, all of them will be erased but only one will be created.
Skip any pre-existing nodes with same name
If any child nodes exist with the same name as the new node, that child node will be skipped.
Fail if any pre-existing node has same name
If any child nodes exist with the same name, the action will fail.

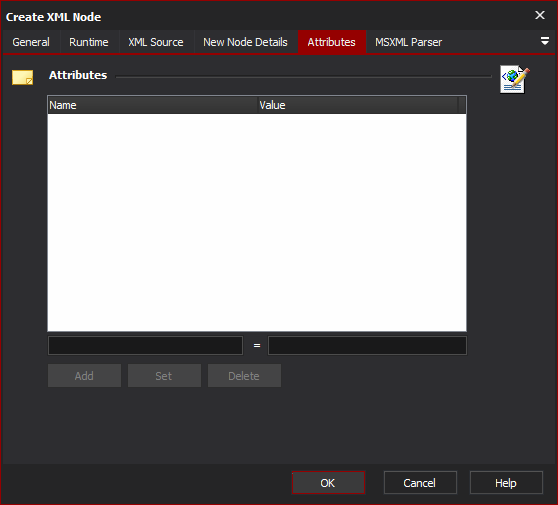
The attributes list shows attribute and value names for the new node. To add a new attribute, type its name and value into the edit fields and then click the Add button.
MSXML Parser Page
Allows you to set some options to be used when the parser loads the XML. See the XML Parser Options topic for details.