Part 6: Automate your Builds
This tutorial is the last in our beginners tutorial section. It assumes you have read and completed the following tutorials:
- Part 1: Create your First Project
- Part 2: Create your First Configuration
- Part 3: Create your First Repository
- Part 4: Create your First Action
- Part 5: Using Builds
In our previous tutorials we setup our build environment which retrieves the latest source code, compiles the code and moves it to our ContinuaTutorial folder. The only problem is that we still need to manually start a build, which is where build triggers come into play.
Triggers
Triggers allow you to automate how configurations are built and when they are built. In Continua, there are several types of triggers:
- Repository Triggers: These triggers will begin a new build any time a source change is detected in a repository.
- Time-base Triggers: These triggers execute at a specific time.
- Build Completed Triggers: These will fire off a build when another build has finished. This trigger allows you to daisy-chain builds.
In this tutorial we will create a repository trigger that will execute a build whenever the source code changes in our GitHub Fluent NHibernate repository. So lets head back into our Configuration Wizard and navigate to the Triggers section.
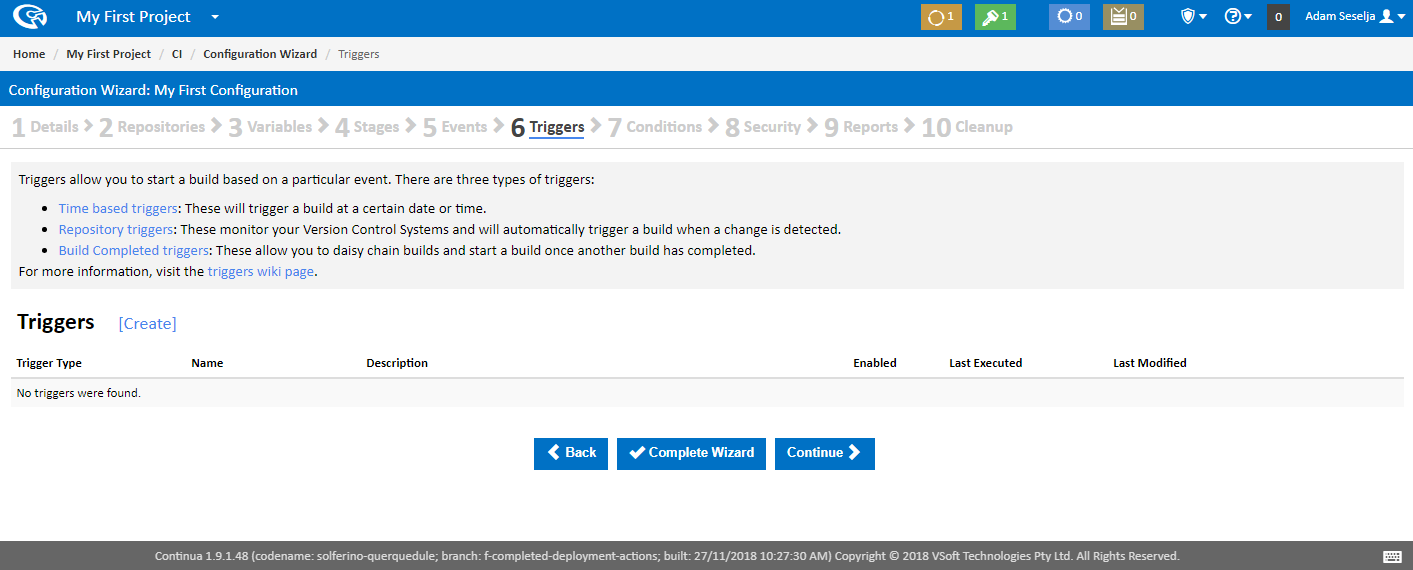
Once you arrive at the Triggers page, you will notice that we do not have any Triggers associated with this configuration yet. So lets add a trigger by clicking the Create link which will bring up the Trigger dialog.
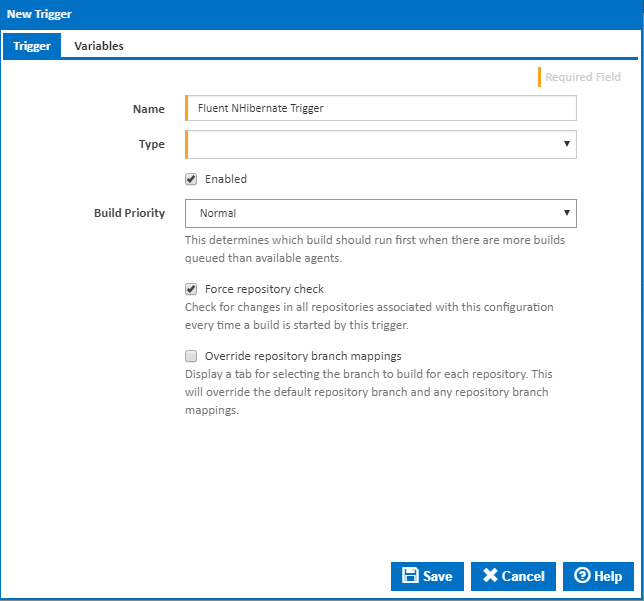
Similarly to the repository dialog, the options you can set for this trigger will change depending on the Repository Type that is set. Lets go ahead and set this trigger to be a Repository trigger.
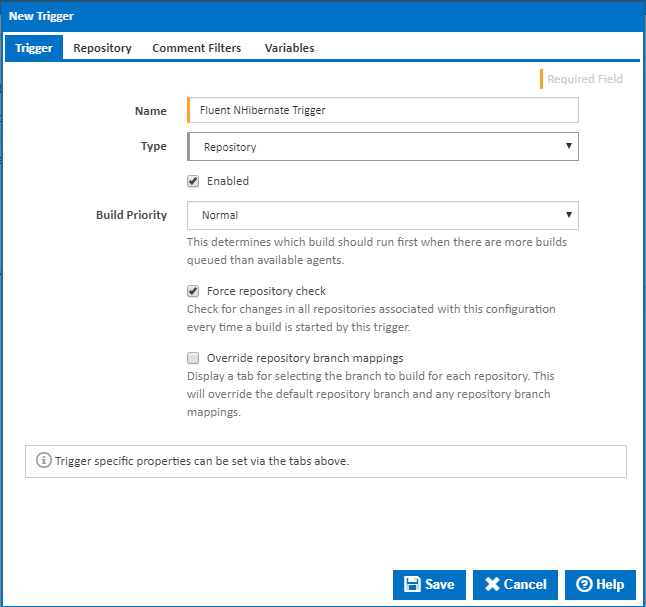
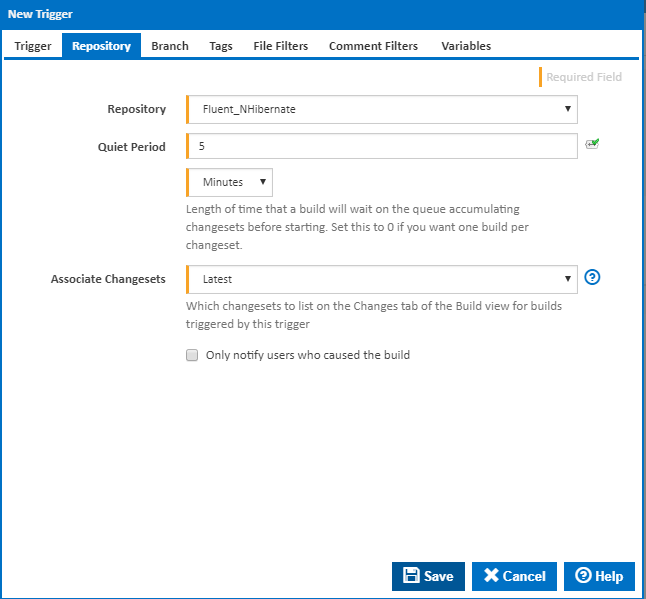
For this tutorial, the default settings are all we need to automate our builds. You should note that the Repository property should point to our repository Fluent_NHibernate and that this property auto populates with all the repositories that this configuration can access. So make sure Repository is pointing to our Fluent_NHibernate repository and that this trigger is enabled and save our new trigger.
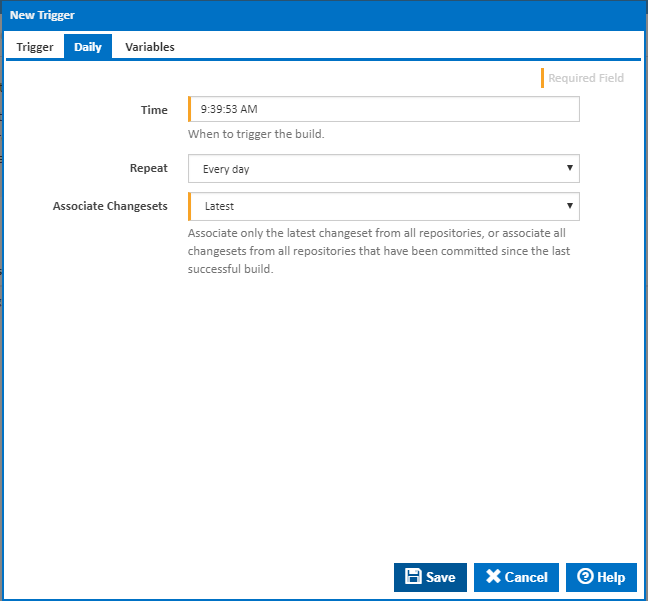
Once your trigger has been created it will appear in the Triggers list which means that Continua will be constantly checking the Fluent NHibernate GitHub project for any code changes! However, as this is a GitHub project and we cannot easily change the source of the project, lets also create a daily trigger that will build our project at the same time every day. This will allow us to see automated builds in action. So lets create another trigger but this time around lets set the repository type to Daily.
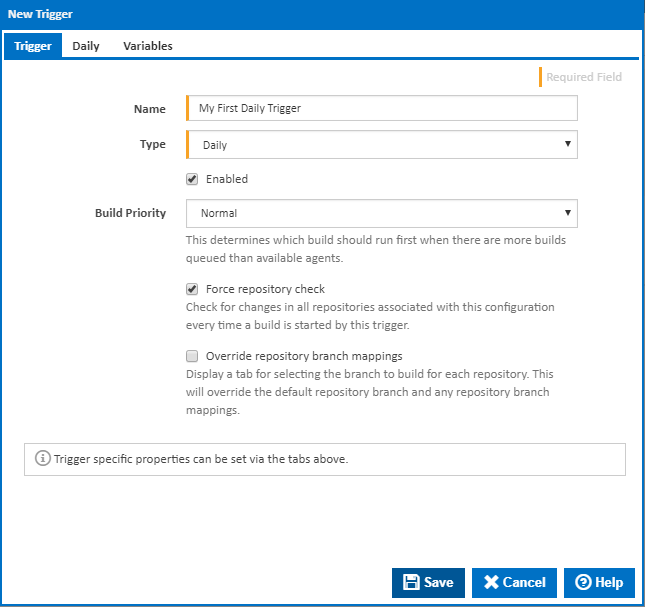
When creating this trigger, change the time so that it will run in a couple of minutes. Once everything is configured correctly, save the trigger and head back to the Configuration homepage and wait for a build to be triggered!
Reviewing your Automated Build
Once your build has begun to execute, you should see that the Started By value is no longer set to your name, but rather your triggers name. Triggered builds are executed in the exact same way as manual builds and if you check your ContinuaTutorial folder, you will see that this daily trigger is updating the folder too.

Tutorial Completed
A final congratulations for successfully completing our Continua tutorial. Feel free to leave all of the components created in this tutorial running in Continua to use as a reference. If you come back to this configuration in a few weeks and there has been some activity on GitHub then you will see some builds that were executed from our repository trigger.
You should now have a basic understanding of how Continua works and hopefully you are now contemplating how Continua can be used within your own development environment.
There are still many more aspects of Continua that were not discussed in this tutorial. If you would like to get more out of Continua then try out one of our other, more advanced tutorials.