Installation Guide
Server Requirements
- Operating System: Windows 10 or Windows Server 2016 (or later)
Installer
To install or upgrade Signotaur Server, run Signotaur.Server.Setup_x64_*.exe and follow the steps in the Setup Wizard.
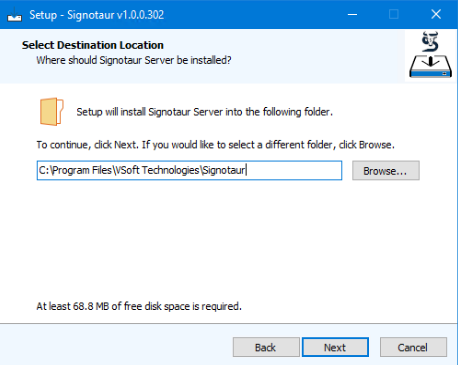
1. Destination Location (New Installations Only)
By default, Signotaur installs to %ProgramFiles%\VSoft Technologies\Signotaur. You can specify a different location if preferred.
2. Upgrade Options (Upgrades Only)
When the installer detects an existing Signotaur installation, it will upgrade in place — there is no need to uninstall the previous version first. An upgrade page will be displayed with two options:
- Keep my existing settings — The installer will upgrade immediately using the settings from the previous installation. The service account, web configuration, and SSL certificate pages will be skipped.
- Update my existing settings — You will be prompted to review and change existing settings (service account, hostname, port, SSL certificate) before the upgrade takes place.

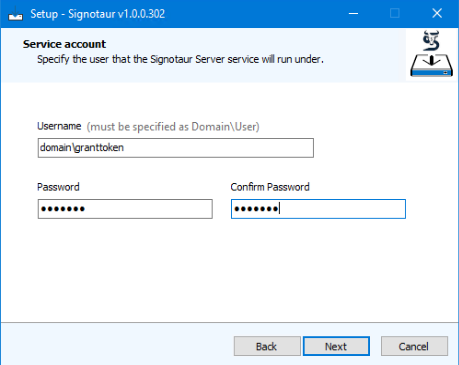
3. Service Account
Signotaur runs as a Windows service. Specify the user account that the service will use in domain\user or machinename\user format, along with its password. We recommend creating a dedicated user account for the service and ensuring it has all necessary permissions.
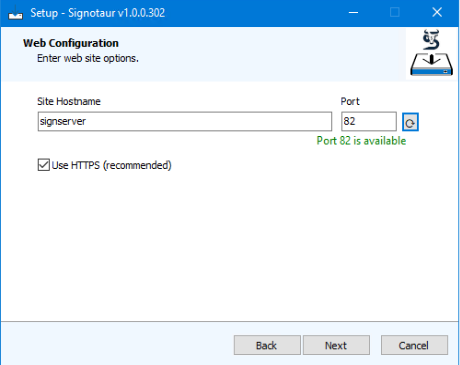
4. Web Configuration
Site Hostname: Enter the server name or DNS name used to access the service.
Port: Choose an available port for the server. If IIS (not required for Signotaur) is installed, port 80 may already be in use. To check for available ports, use the following command:
netsh http show urlaclThe Test web configuration after installing checkbox (checked by default) tells the installer to verify the web server is accessible after installation completes.
When upgrading, the installer may report that the port is already in use by the existing Signotaur site. This is normal — the server will be upgraded to use the existing port registration.
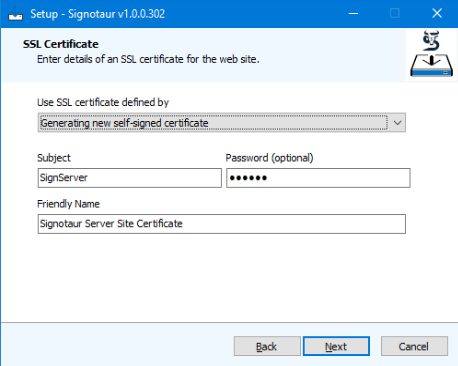
5. SSL Certificate
Signotaur requires HTTPS for secure access. Select an SSL certificate — you may use a private key file, a certificate from the Personal certificate store on the local machine, or generate a self-signed certificate if the server is not exposed to the internet. We recommend setting the certificate's subject to match the hostname.
6. Installation Options
This page appears after SSL certificate selection. For upgrades, it includes options to back up existing data before proceeding.
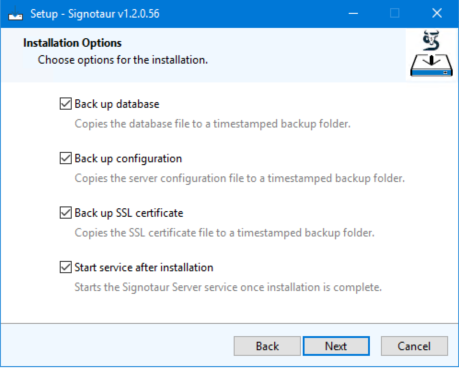
Back up database (upgrades only, checked by default): Copies the database file to
backups\database\with a timestamped filename.Back up configuration (upgrades only, checked by default): Copies the server configuration file to
backups\configs\with a timestamped filename.Back up SSL certificate (upgrades only, checked by default): Copies the SSL certificate file to
backups\certs\with a timestamped filename.Start service after installation (checked by default): Starts the Signotaur Server service once installation is complete.
Initial Setup
1. Launch the Application
Once installed, open a web browser and navigate to:
https://hostname:port
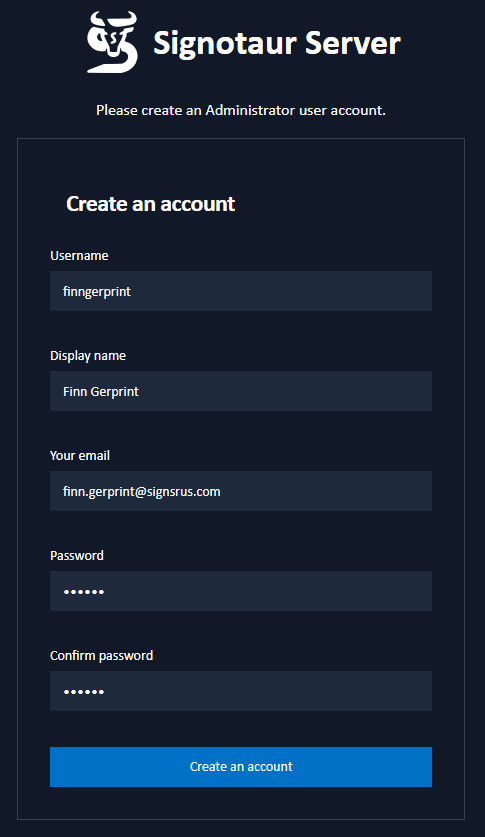
2. Create an Administrator Account
Follow the on-screen prompts to set up the administrator account.
3. Configure Mail Server Settings
Go to Admin > Settings. Configuring the mail server allows users to receive password reset notifications and account verification emails. This step can be skipped if an SMTP service is not available. See Settings page.
4. Add License Key
Go to Admin > Licenses. Licenses can be purchased via the VSoft Technologies website. If you have a license, click Add License to upload it. Alternatively, request a 14-day trial license. See Licenses page.
5. Register a Certificate
Navigate to Admin > Certificates and click Add New Certificate. Options include registering a certificate from a PKCS#11-compatible hardware device (e.g., SafeNet eToken, YubiKey), uploading a PFX file, or using a certificate from the Windows Certificate store. Hardware devices require that a PKCS#11 library is installed on the server. See certificate registration guide.
6. Add Users
Go to Admin > Users and click Create New User to add server users. Assign one or more certificates to each non-admin user to enable them to sign files. See user management guide.
Uninstalling
To uninstall Signotaur Server, open Settings > Apps (or Programs and Features on older Windows versions), locate Signotaur Server, and click Uninstall. The uninstaller will stop and remove the Windows service, then present a set of options for removing additional data files:
| Option | Default | Description |
|---|---|---|
| Delete log files | Checked | Removes server log files from the data directory. |
| Delete uploaded private key files | Checked | Removes any private key files that were uploaded to the server. |
| Delete configuration file and security keys | Unchecked | Removes the server configuration and encryption keys. Warning: If you delete security keys you will no longer be able to decrypt passwords in the Signotaur database. |
| Delete database | Unchecked | Permanently deletes the Signotaur database. Warning: All stored data will be lost unless you have a backup. |
| Delete SSL certificate for website | Checked | Removes the SSL certificate (PFX) used by the web server. |
| Delete any other files in data directory | Checked | Removes any remaining files in the data directory. |
After making your selections, click Uninstall to proceed.
Uninstalling is not required when upgrading — simply run the new installer to upgrade in place. If you do uninstall and plan to reinstall later with the same configuration, leave the configuration and database options unchecked so they are preserved.
Your Signotaur Server is now set up and ready to use! With the initial configurations complete, you can begin signing files securely. For additional information and guidance on available settings, refer to the rest of this documentation. Happy signing!